From the beginning of the design and implementation of OPC server for Arduino we have tried to make it simple to use and configure. Now we are going to show you the few steps to get it configured and running.
If you are new at OPC you will need to download the OPC Core Components Redistributable from here
After support the project you will get the Arduino OPC Sever. Then the first of all is to unzip the file at a final location. Note that you should not move the file once it has been installed and configured.
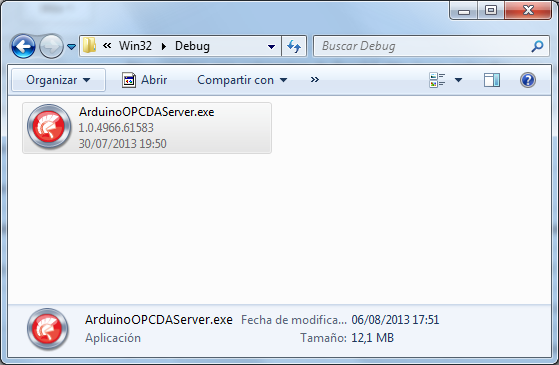
Now you can execute ArduinoOPCDAServer.exe. The application will be executed and two new files will appear.

These two files will help you register the OPC server in the operating system, but first we should configure our Arduino OPC server.

Lets go to the Configuration Tab in the Arduino OPC Server main form. There we should configure correct settings and then press Save Configuration button.

The configuration settings will be stored in a new file named “ArduinoOPCDAServer.ini”. That way, every time the Arduino OPC Server start will use these settings. This must be done just the first time or every time you change port settings.

Now you can register your configured Arduino OPC Server into your operating system. That way if a Scada system needs to find a OPC Server for Arduino could find it.
Note that “register.bat” just execute: ArduinoOPCDAServer.exe /regserver
If you need you unistall the Arduino OPC Server from your system you could use unregister.bat or execute ArduinoOPCDAServer.exe /unregserver
IMPORTANT: You should execute batch files with Administrator rights.