First of all you should load the sketch to control the Led using the OPC Library. The library provide some examples to learn how to use it.
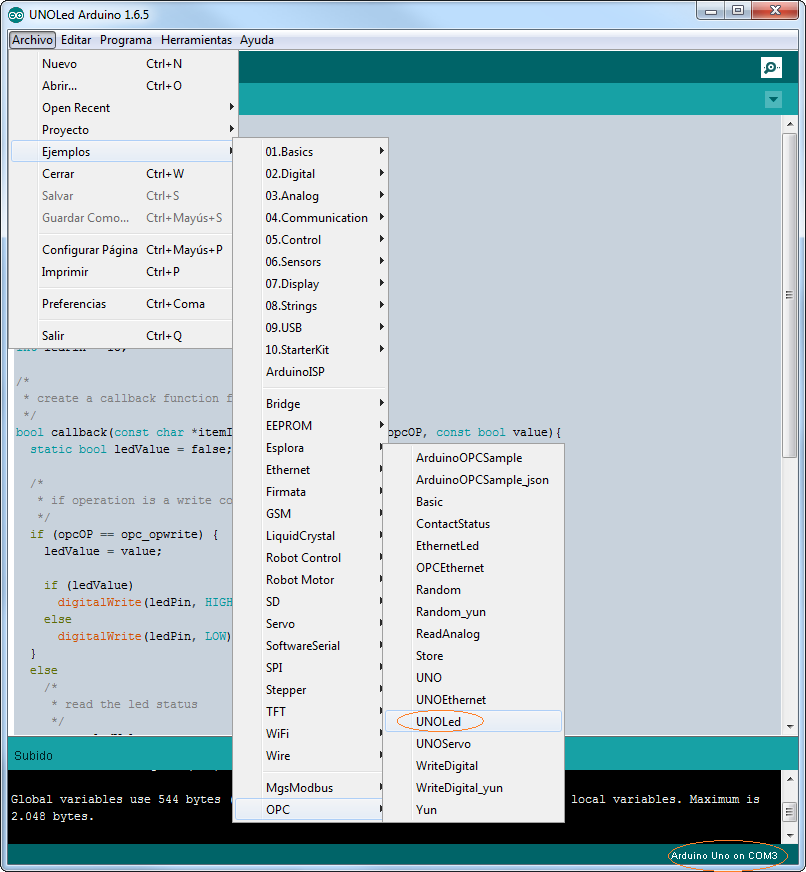
Take a look, understand it, compile and upload. Take note about your Arduino port. You will need later.

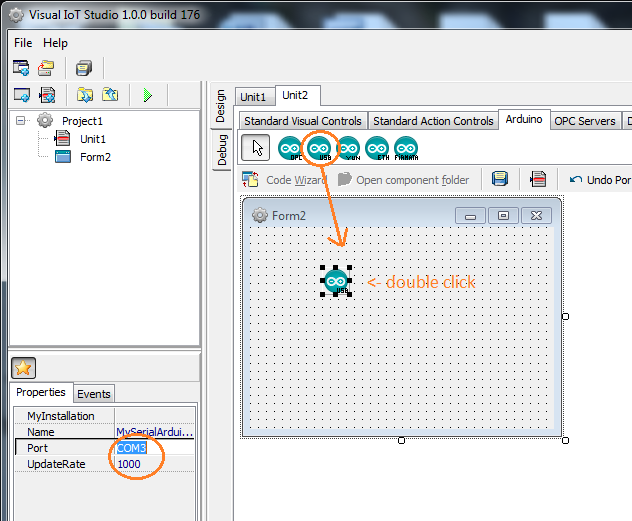
You can test it sendig “enter” to see the items and you should be able to control the Arduino Led sending “led=1” or “led=0”. If it worked fine you can continue to build your IoT application. Open Visual IoT Studio and create a new empty application. Drag and drop led component and Arduino Direct connection component.

Do not forget to configure the port of the Arduino direct connection component and the update rate. For better user experience you can use 500 or 300 msecs.
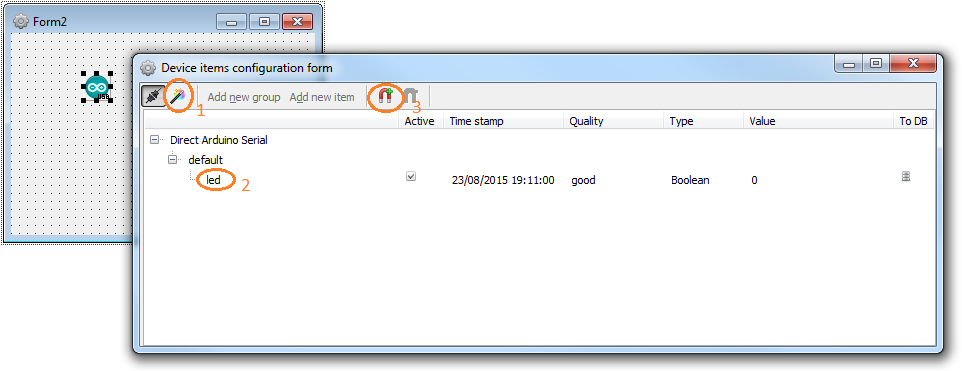
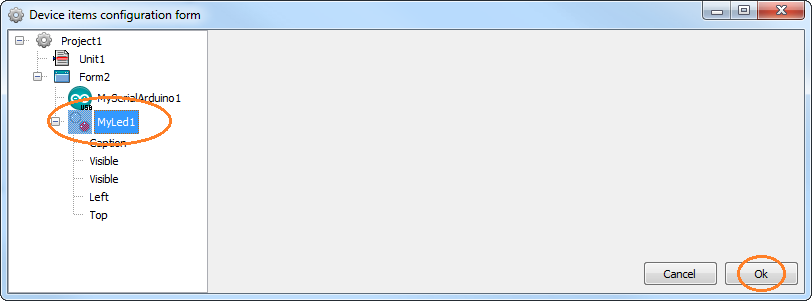
Double click the Arduino direct connection component and get the available items from the loaded sketch. Select led and link it with the visual control.
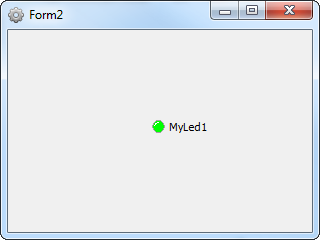
Select the visual control do you want to link the item from your sketch and press “Ok”. This way the item “led” from your sketch will be linked with the “MyLed1” component.
Now you can run the IoT Application and watch the led off. If you click the “MyLed1” component it will write in the serial port the “led=1” so it will become to light.
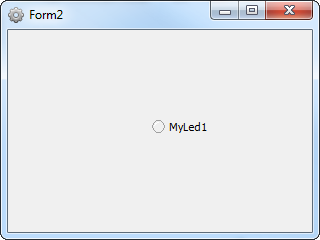
and there was light 🙂